BMWdiy.INFO
E39 Aspheric (Wide-Angle) Mirrors
+ Heating Info
Prepared by VietSB
Modified 03.07.03
NOTE: Perform these steps at your own risk. All P/N's listed are a "best guess", so please double-check with your local dealer. These mods and repairs were performed on my US-spec 1997 540iA (11/96 prod date, M62 engine) but there is no guarantee they will work on other E39's. These instructions are provided for entertainment purposes only!
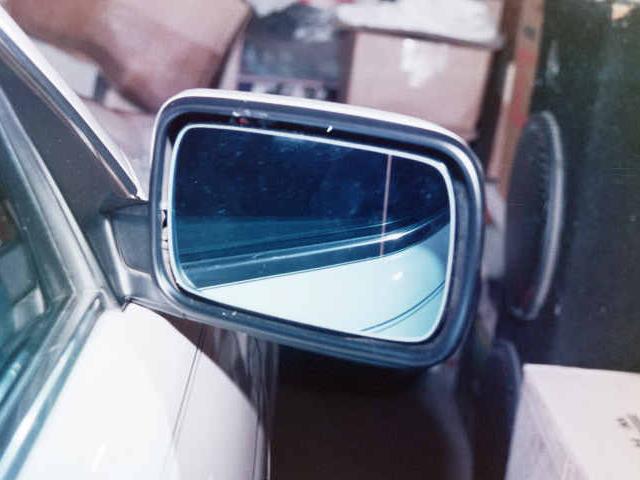
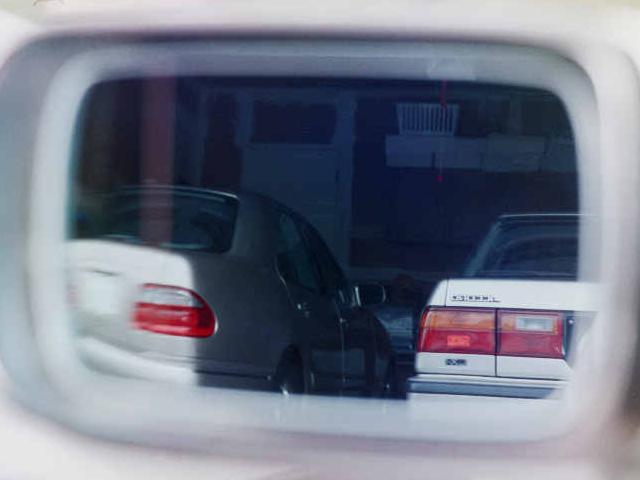
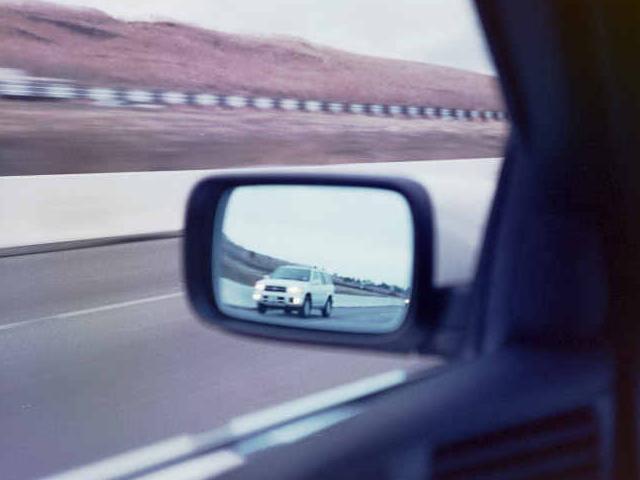
BACKGROUND: I installed BMW Euro aspheric mirrors on both sides to reduce the blind spot created by the large B and C-pillars. The inboard 3/4 of the aspheric mirror is straight glass and the outboard 1/4 is convex to peer into the blind spot. Since these are direct replacements for the OEM mirrors, they are heated but non-electrochromatic. BMW does list separate left and right electrochromatic replacement mirrors, but since dimming side mirrors wasn't OEM on my car and I'm not sure what is involved in triggering the chromatic changes, I went with the standard aspheric mirrors.
The supplied BMW instructions are detailed, so please read them carefully for supplemental information.
Mirror Heating Information for 1997 E39 and possibly others (Courtesy of Jim Cash)
Mirror heating is individually controlled by the computer modules in each front door - following a program that uses the outside temperature as reported from the OBC.
Power is applied in 4 different stages (percentages of time) to give 4 different degrees of heating - all according to temp.
| Temp Range
| % of Time
| below -10C
| 100% (totally on)
|
| -10C thru 0C
| 75%
|
| 0C thru 15C
| 50%
|
| 15C thru 25C
| 25%
|
| above 25C
| 0% (totally off)
| |
There is no manual control of their operation.
Also - the washer nozzle heating is controlled in a similar way - but there are either on or off (single stage).
They start to heat when the temp drops to +3C (same time as you get the "freezing temp" alert message).
They turn off when the temp climbs to +6C.
Both these heating functions, like many other non-essential functions, will be shut down if the battery voltage falls too low (below 11.4) and will not be re-activated till the voltage goes to about 12.2.
Note - if you loose the temperature sensor for the OBC, the reading defaults to -40, at which time your mirrors and nozzles will be stuck in full heat mode (using power).
Required Parts:
Purchase one or two of the following (fits both sides):
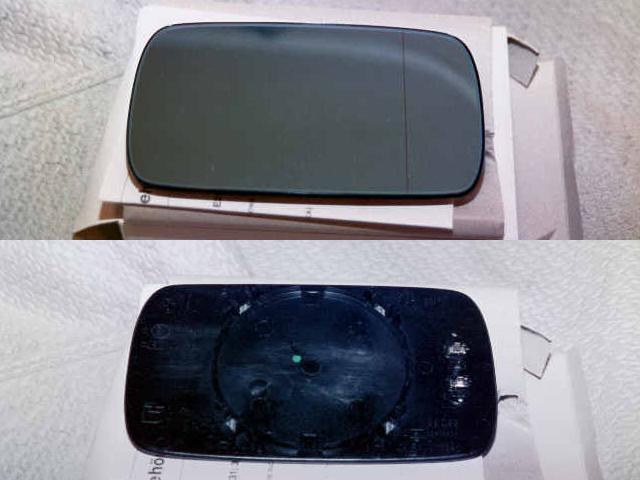
- P/N 51 16 8 119 724 Aspheric mirror glass [pre-9/97] (pictured) (~$55 from Pacific BMW)
- P/N 51 16 8 250 438 Aspheric mirror glass [9/97+] (~$55 from Pacific BMW)
Required Tools:
- Popsicle stick or wooden spoon
- Towel for padding
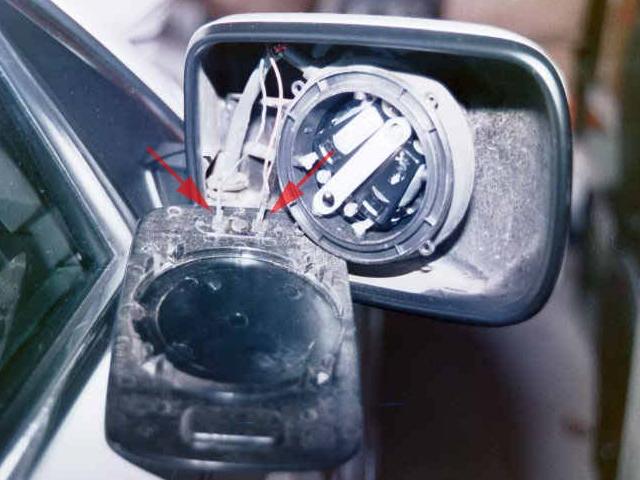
1. Carefully pop out the old mirror and unplug the 2 heating element wires (see arrows). The basic procedure is to angle the mirror into the upper inside corner, and while maintaining pressure, use a safe prying tool (popsicle stick or wood spoon) to pry the opposite corner outwards. Wrap the tool with a t-shirt or towel for protection.
2. Plug the heating wires into the new mirror (I'm not sure if polarity matters). Line up the clips on the back of the mirror with the lugs on the motor assembly, and carefully press inwards till it snaps into place.
It takes some time to get used to the different perspective, but you'll probably enjoy it!
|
Questions? Comments? E-mail me:
|
 . .
|
Click Here to return to the Main Menu.

Optimized for 800x600 or higher resolution.
Copyright © Midnight Designs, 2002-2003. All Rights Reserved. All
images and registered trademarks are used to benefit and without intent to
infringe on the holder. Contents Subject to Change Without Notice.